
Last updated September 20, 2026
Free on-site gate assessment - hinges, posts, and your LiftMaster or Nice gate operator checked before anything is quoted
The assessment is free and the quote is the invoice.


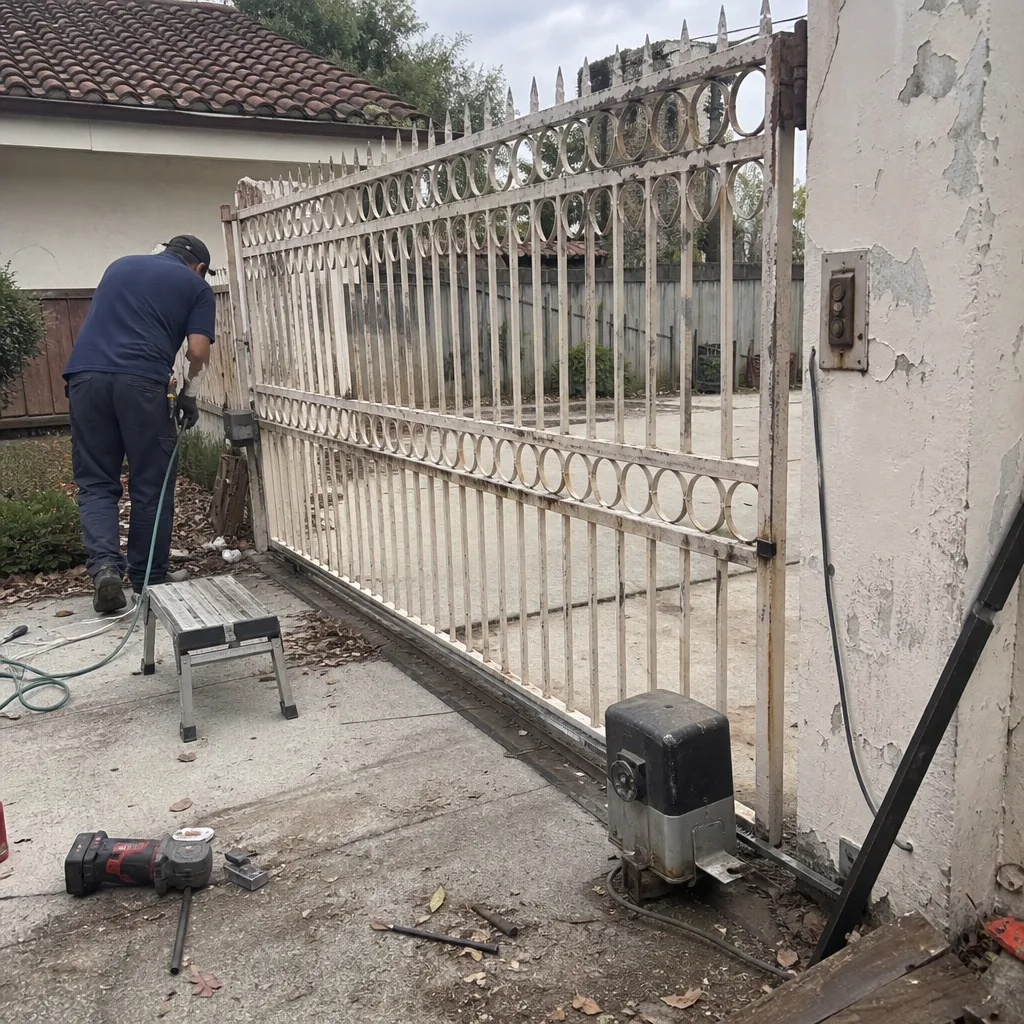 Before
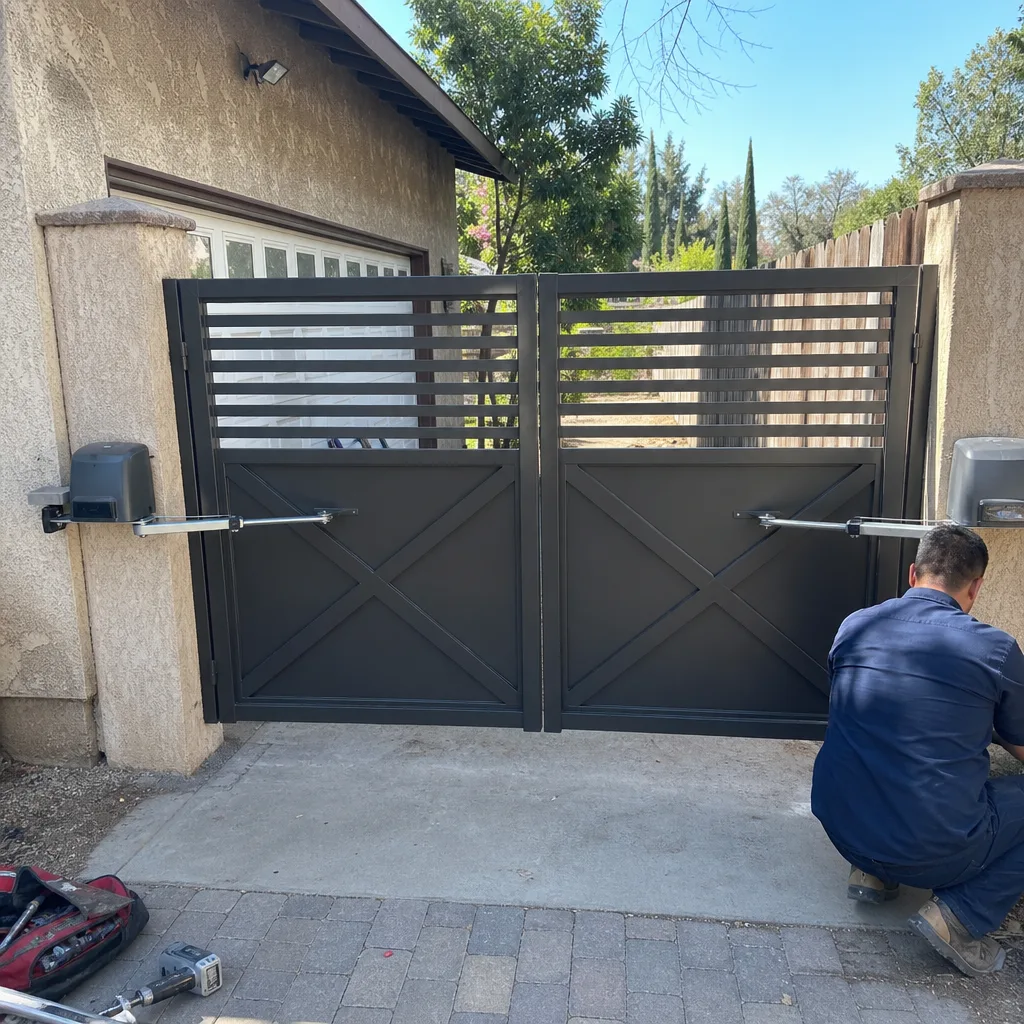 After
After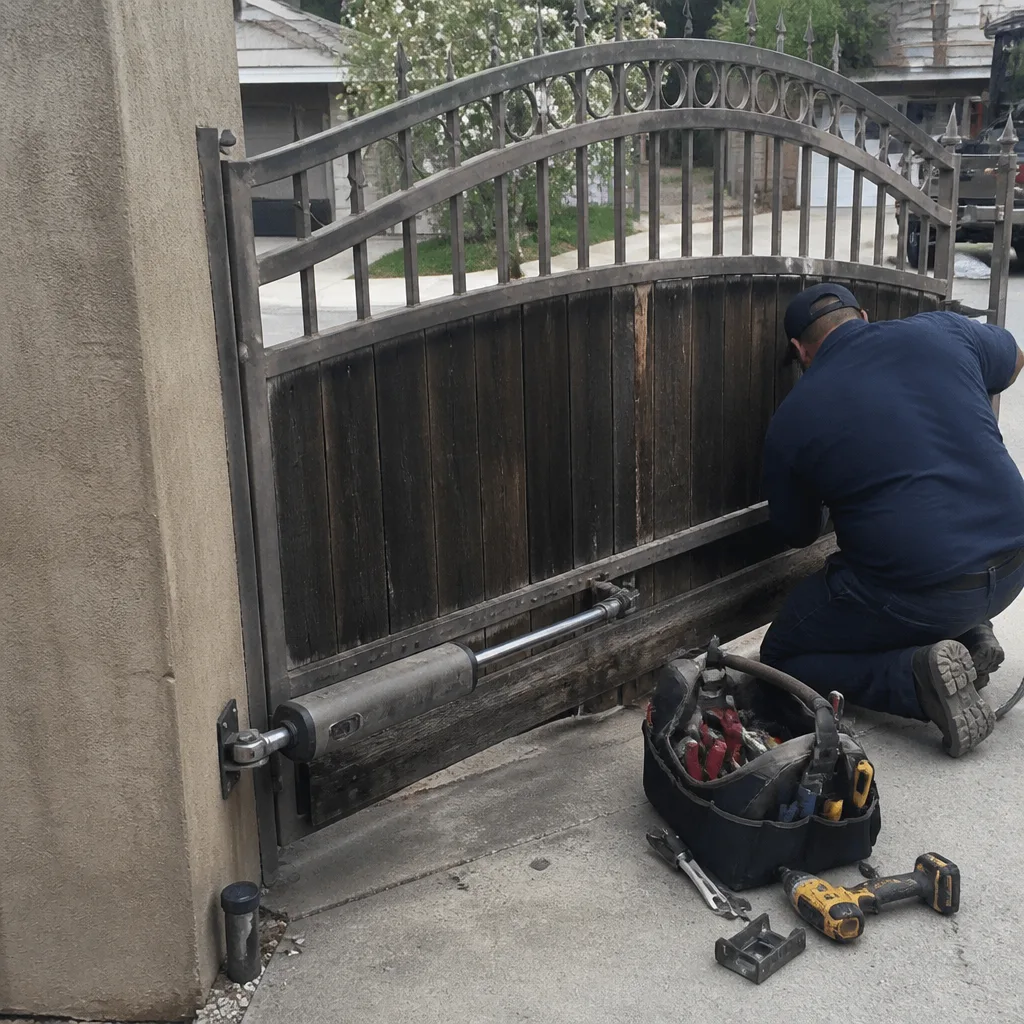 Before
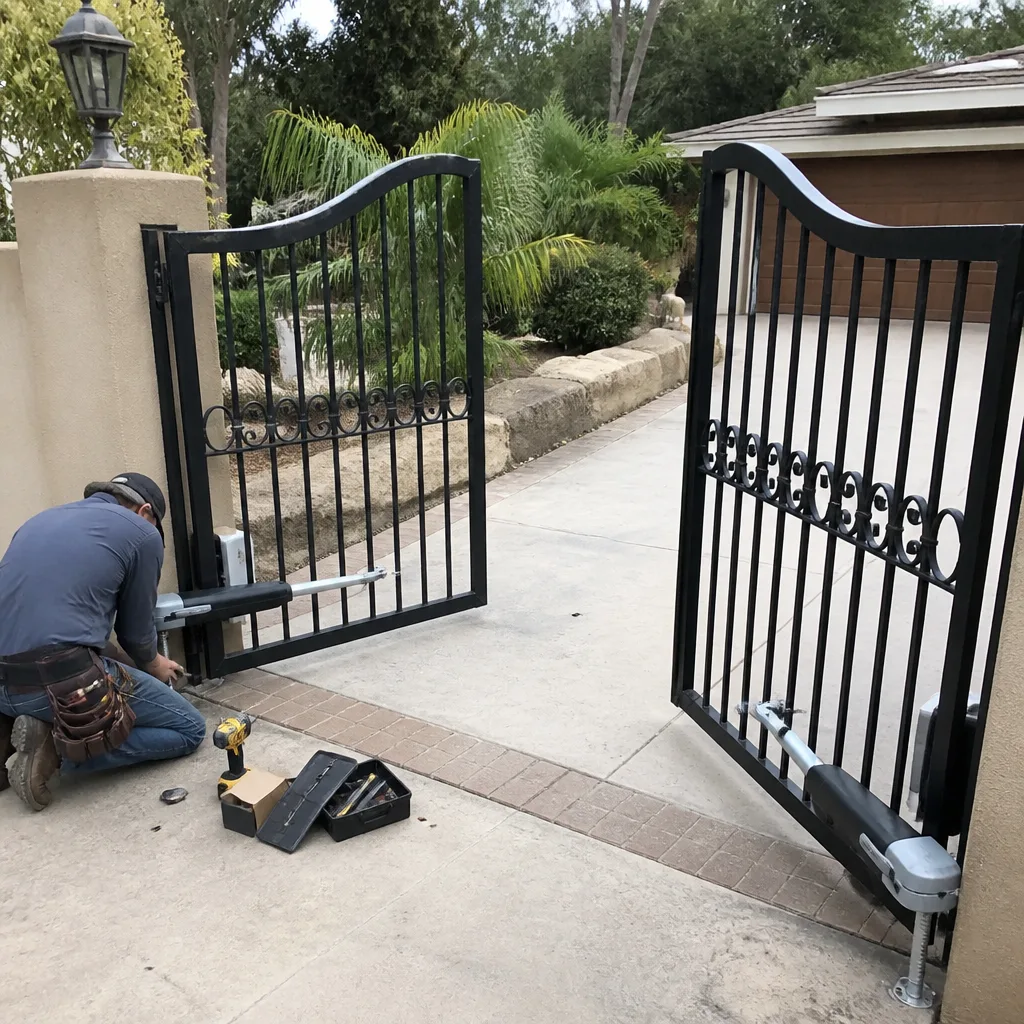 After
After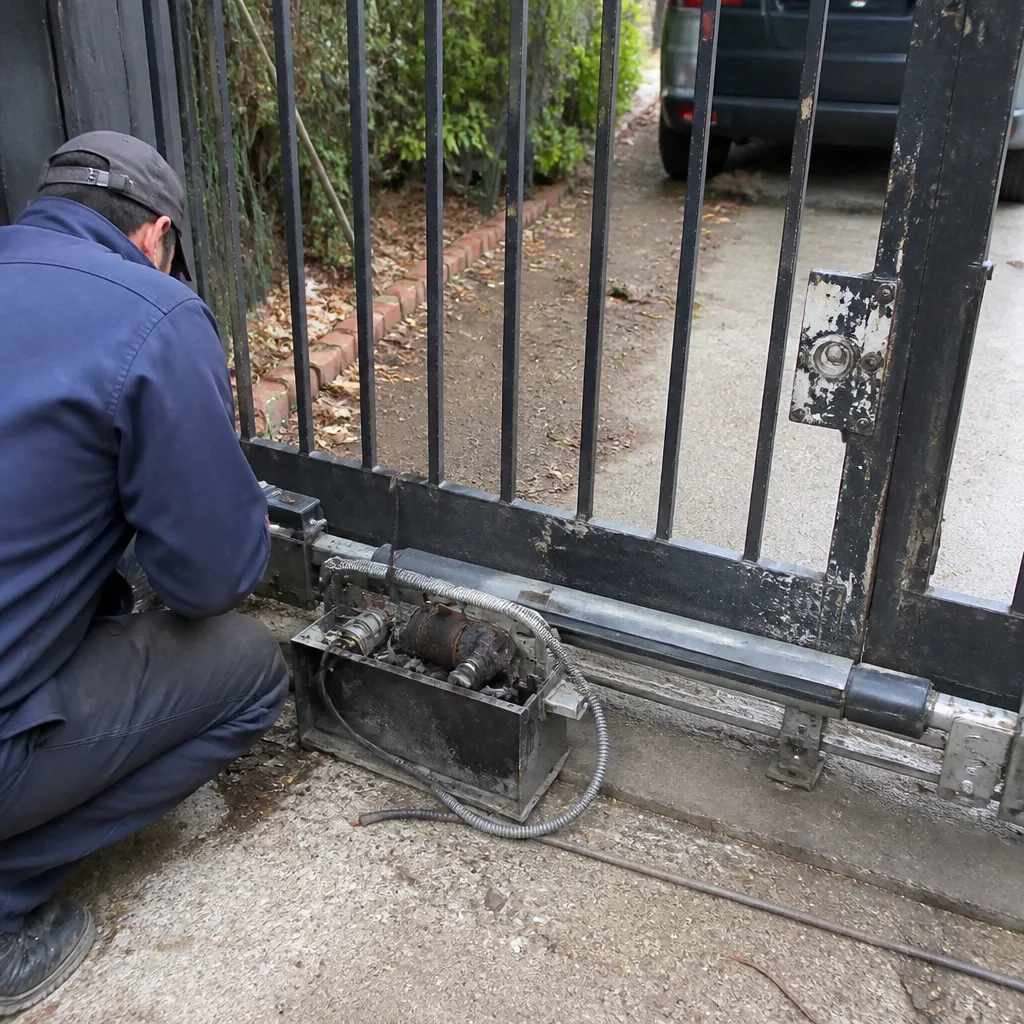 Before
 After
AfterGate Repair Maintenance Checklist for Chatsworth Homeowners
A standard gate maintenance checklist tells you to “lubricate moving parts.” That one instruction is responsible for more seized roller tracks in Chatsworth than neglect ever was, because the wrong lubricant on a dusty track turns into grinding paste within two dry-season months. This guide replaces the generic advice with an eight-point inspection built around the components that actually fail first on Chatsworth driveways, ranked by how often we see them break. For professional help with any issues you find, our Gate Repair services cover all the components below. You’ll learn which lubricant goes where, what a misaligned limit switch looks like from six feet away, and how to build a dated photo record that saves you from paying a technician to rediscover what you already know. No tools required for the inspection itself, just fifteen minutes and a camera phone.
Quick Answer
A gate maintenance checklist for Chatsworth homeowners should focus on eight components, in order of failure frequency: roller tracks and wheels, hinge pins, limit-switch flags, chain or belt tension, post alignment, wire connections, backup battery voltage, and photo-eye alignment. Chatsworth’s dry-season dust and caliche soil movement cause specific failures that generic checklists miss, so each check below includes the exact symptom to look for and the correct fix. If any check reveals a mechanical or electrical fault, stop and get a written price before letting anyone touch the gate.
Table of Contents
- 1. Roller Tracks and Wheels: The Dry-Season Grind
- 2. Hinge Pins: The Squeak That Tells You Something
- 3. Limit-Switch Flags: Reading the Alignment Without Touching the Board
- 4. Chain and Belt Tension: The 1/2-Inch Rule
- 5. Post Alignment and Caliche Heave: The Two-Minute Plumb-Line Test
- 6. Wire Connections and Conduit: What Chatsworth Heat Does to Insulation
- 7. Backup Battery Voltage: The Number Below Which the Gate Fails
- 8. The Documentation Habit: Photograph, Date, File
BeforeAfter1. Roller Tracks and Wheels: The Dry-Season Grind
In Chatsworth, the failure you’ll encounter first on a sliding gate is almost always the roller track. The reason is dust. From May through October, the Santa Ana winds and the dry hillsides push fine particulate onto every horizontal surface. When that dust mixes with a wet lubricant, oil-based spray, or WD-40-style product, it forms a paste that hardens into a grinding compound. Wheels stop rolling and start skidding. The track wears flat spots into the wheel bearings. The motor pulls harder. Then the gearbox strips or the board overheats and you have a repair bill that could have been avoided with the right product choice.
The correct lubricant for Chatsworth roller tracks is a dry-film lubricant, specifically a PTFE-based dry spray or a graphite-based dry lubricant. These products go on wet and flash off within a minute, leaving a slick solid film that does not attract dust. You do not want white lithium grease on a track. You do not want silicone spray on a track. Both are too wet for Chatsworth’s dry season and both create the paste problem described above. Apply the dry film to the top edge of the track where the wheel rides, not to the wheel itself. One pass, then wipe the excess with a clean rag before it dries. If the track already has caked-on grease and dust, remove it with a stiff brush and a degreaser like Simple Green before applying anything new.
Symptom check while you’re there: Run the gate manually by pulling the release handle (usually a red lever or T-handle on the motor). The gate should glide with one hand, not two. If you feel resistance, hesitation, or a regular thump every few inches, inspect the wheels for flat spots. A wheelless roller, a cracked nylon tire, or a bearing that’s seized will all produce a thump. Chatsworth gates that sit in full sun all day also see nylon wheel degradation faster than shaded lots, because UV breaks down the polymer. If a wheel is visibly cracked or flat-spotted, that’s a replacement item. Call for a written price before anyone removes the gate from the track.
For context on how track damage escalates into larger failures, our Gate Repair in Chatsworth page walks through the most common track and wheel failures we document.
2. Hinge Pins: The Squeak That Tells You Something
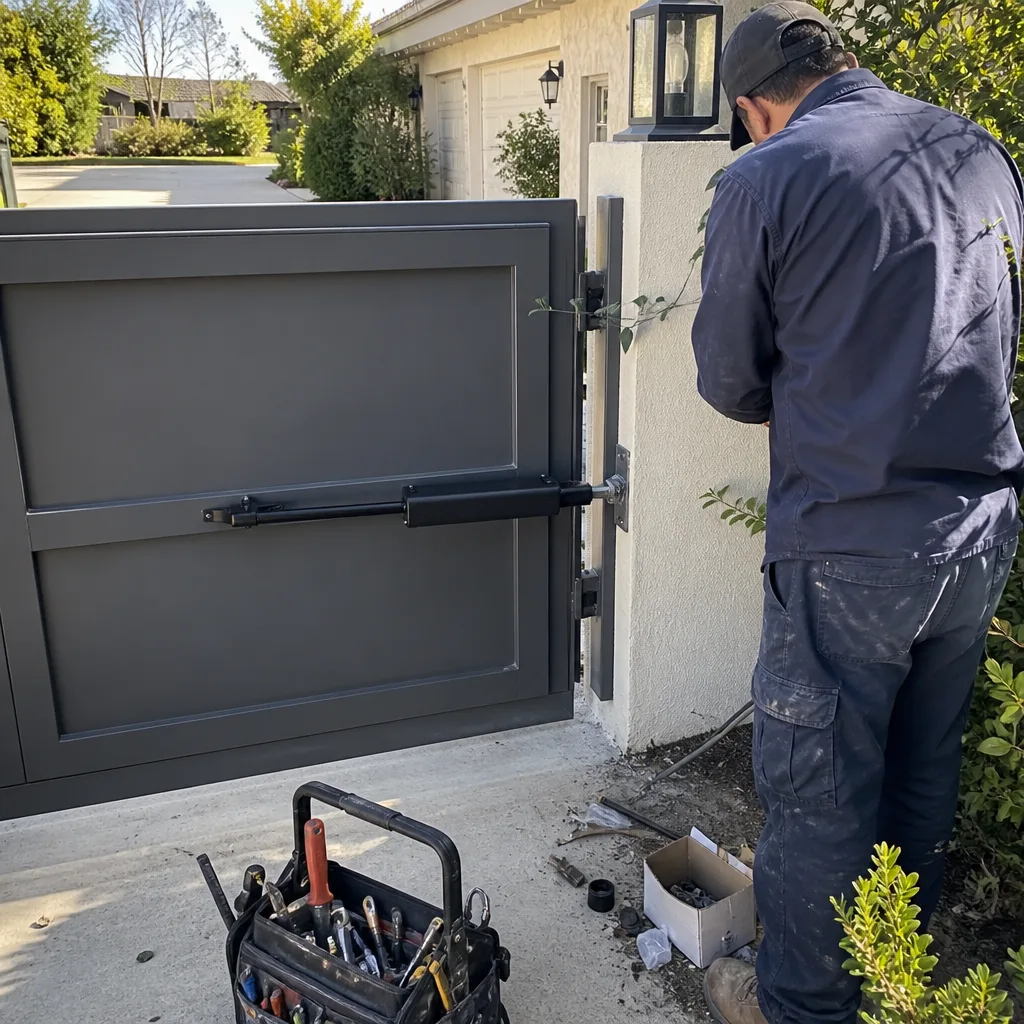
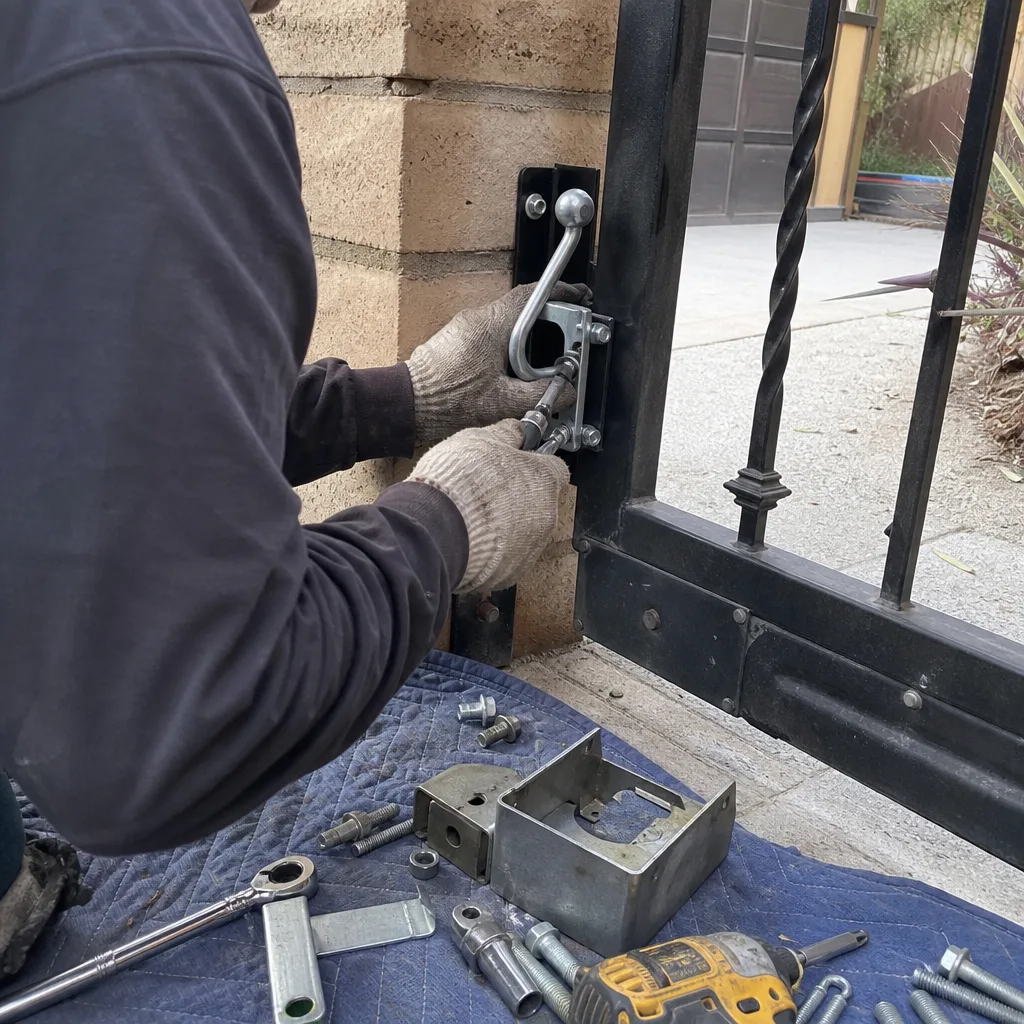
Hinge pins on a swing gate are the component most likely to fail silently before they fail loudly. A hinge pin that’s dry will squeak when the gate moves. A hinge pin that’s worn beyond tolerance will make no noise at all, because the gate shifts slightly on the hinge barrel instead of rotating cleanly around the pin. That shift changes the gate’s geometry, which changes the gap at the latch, which changes how the motor reads the limit position. One worn hinge pin on a Chatsworth swing gate can cascade into three misdiagnosed problems.
Here’s the check: Stand on the hinge side of the gate. Have someone push the gate open and closed, or do it yourself with the release disconnected. Watch the gap between the gate frame and the post at the hinge point. The gap should remain constant through the full swing. If it opens and closes, even by a quarter inch, the hinge pin or the hinge bushing is worn. If the gate drops suddenly at the end of its travel, the pin is badly worn and the gate is hanging on the post bracket instead of the hinge. In Chatsworth’s clay and caliche soils, post brackets can also shift slightly when the ground expands and contracts, which produces the same symptom from a different cause. The distinction matters because one fix is a $40 hinge pin and the other is a post reset.
Lubricant for hinge pins: Unlike roller tracks, hinge pins on a swing gate benefit from a penetrating oil that dries to a light protective film. A product like Tri-Flow or a light machine oil works well. Apply two drops to the top of the pin where it enters the hinge barrel. Do not use grease, which attracts dust and gums up the hinge barrel exactly the way it does on a track. Do not use dry film on a hinge pin, because the tight clearance between pin and bushing needs the oil to wick into the gap. One or two drops, twice a year, is sufficient.
Symptom check: look at the bottom edge of the gate near the latch pin. If you see scrape marks on the ground or a clean polished patch where the gate has been dragging, the hinge side has dropped. That’s not a latch problem. That’s a hinge problem that has been compensating at the latch for months.
3. Limit-Switch Flags: Reading the Alignment Without Touching the Board
The limit switch on a gate motor tells the board where the gate stops. On most residential swing and slide motors in Chatsworth, the limit switch is a mechanical flag or a magnetic trigger, not a digital encoder. A misaligned flag is the single most common reason a gate stops short of the latch post, overtravels past it, or reverses partway through its cycle. And here’s the thing: you can inspect a limit-switch flag without opening the control board, without touching any wire, and without risking the high-voltage side of the panel.
What to look for: The flag is a physical tab or metal arm attached to the gate’s drive mechanism or the motor’s internal cam assembly. When the gate reaches the correct open or closed position, the flag passes through or presses against the limit switch body, which sends the stop signal to the board. A misaligned flag sits at an angle, looks bent relative to the switch body, or has a shiny wear mark where it has been striking the switch housing instead of entering the slot cleanly. A worn flag has a rounded edge, visible erosion at the contact point, or a loose mounting screw that allows the flag to wobble.
From six feet away, here’s the visual check: with the gate stationary, the flag should be parallel to the switch body and aligned with the center of the slot or trigger point. If it’s at an angle, if one corner is closer to the switch than the other, or if you see metal shavings or a grey dust trail below the switch area, the flag has been making contact off-axis. On LiftMaster and FAAC motors that we work on regularly in Chatsworth, the factory tolerance is tight. A flag that is off by even ten degrees can cause intermittent limit errors that the board reads as a fault.
What a misaligned flag sounds like: a gate that stops, then grunts or hums for half a second before the board cuts power. That hum is the motor pushing against the stop while the board waits for the limit signal that never arrives cleanly. If you hear that on your gate, do not keep cycling it. Each overtravel puts stress on the gearbox, the chain, and the post brackets.
If you can see a bent flag or a loose screw, and you’re comfortable doing so, you can tighten or straighten it. But if the flag looks correct and the gate still overtravels or stops short, the issue is likely inside the motor’s cam housing or in the board’s limit input. That’s a technician call, because the panel contains line voltage and the board may need a meter on it. When we leave a Chatsworth job where a limit switch was repaired, the homeowner gets a photo of the flag position after adjustment. That photo goes in the job record and in the homeowner’s file. For a guide to what a full opener service involves, see our Gate Motor & Opener in Chatsworth page.
4. Chain and Belt Tension: The 1/2-Inch Rule
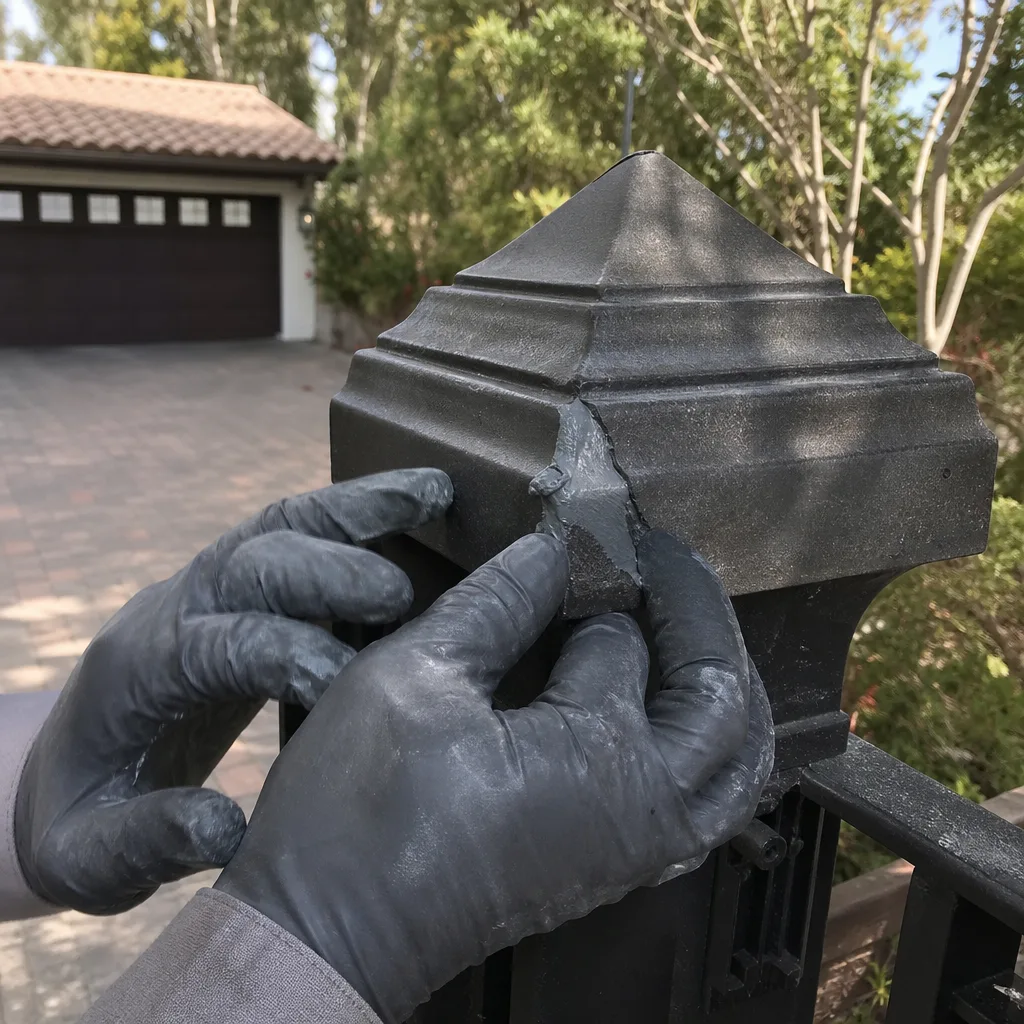
A chain-drive gate motor pulls on a length of chain that wraps around a sprocket on the motor and a sprocket or idler at the far end of the track. A belt drive uses a steel-reinforced rubber belt instead. Both systems have a specified tension, and both drift out of spec over time. Chains stretch as the links wear. Belts stretch, too, and they also harden in Chatsworth’s summer heat. The correct tension for most residential gate chains and belts is simple to check with your hand.
The 1/2-inch rule: Press down in the center of the longest unsupported span of chain or belt with your index finger. The deflection should be about half an inch. If it deflects more than that, the chain or belt is loose. If it deflects less, it’s over-tight. Both conditions cause problems. A loose chain can jump a tooth on the sprocket, which throws the gate’s timing off and makes the limit switch read the position incorrectly. A loose belt can slip on the drive pulley, which produces a jerky motion and premature belt wear. An over-tight chain loads the motor bearings and the sprocket bearings unnecessarily. An over-tight belt is the fastest way to kill the drive pulley bearing on a BFT or Linear opener.
Symptom check: watch the chain or belt while the gate runs. A properly tensioned chain should be steady. A loose chain has visible sag and will whip side to side as the gate starts and stops. A loose belt flutters between the pulleys. Both conditions will produce a rhythmic slapping sound as the gate moves. In Chatsworth, where daytime temperatures swing thirty degrees between March and August, metal chains expand and contract enough to change the tension by a visible amount. Check tension in the late afternoon, when the metal is warm, and again on a cool morning. If the two readings are dramatically different, the chain is nearing the end of its service life.
Do not adjust chain or belt tension yourself unless the motor is disconnected from power and you have the manufacturer’s torque specification. The tensioner bolts on some Chatsworth gates have been over-tightened by well-meaning owners, and the result is a cracked motor mount or a stripped tensioner thread. If the tension is off, write it down as a finding and call for a written price on the adjustment. The adjustment itself takes a technician less than fifteen minutes, but doing it wrong takes weeks off the life of the motor.
5. Post Alignment and Caliche Heave: The Two-Minute Plumb-Line Test
Chatsworth sits on a soil profile that includes caliche, a hardened calcium carbonate layer that forms naturally in arid and semi-arid regions. Caliche expands and contracts with moisture, but not the way clay does. Clay swells and shrinks predictably. Caliche heaves, lifting structures unevenly when water gets underneath it. Any gate post set in caliche is subject to slow vertical movement. That movement tilts the post, and a tilted post changes the gate’s alignment, which changes the latch geometry, which changes the limit position. By the time you see a visible crack in the concrete around the post base, the movement has been underway for months.
The two-minute plumb-line test: Find a weighted string, a plumb bob, or anything heavy tied to a string. Hold the string against the side of the gate post, near the top. Stand back. The string should hang parallel to the vertical edge of the post. If the gap between the string and the post is wider at the top than at the bottom, or wider at the bottom than at the top, the post is leaning. Do this on both the hinge post and the latch post, and on the vertical post that supports the motor mount if you have a slide gate. A deviation of more than 1/8 inch over a 4-foot post is worth investigating.
Symptom check: you’ll see a gate that scrapes the ground at one end, a latch that has stopped engaging smoothly, or a motor that sounds like it’s working harder than it used to. All three symptoms can exist because a post has moved less than an inch. In our experience in Chatsworth, the post moves first, and the motor gets blamed because the motor is the thing that starts misbehaving with the limit switch.
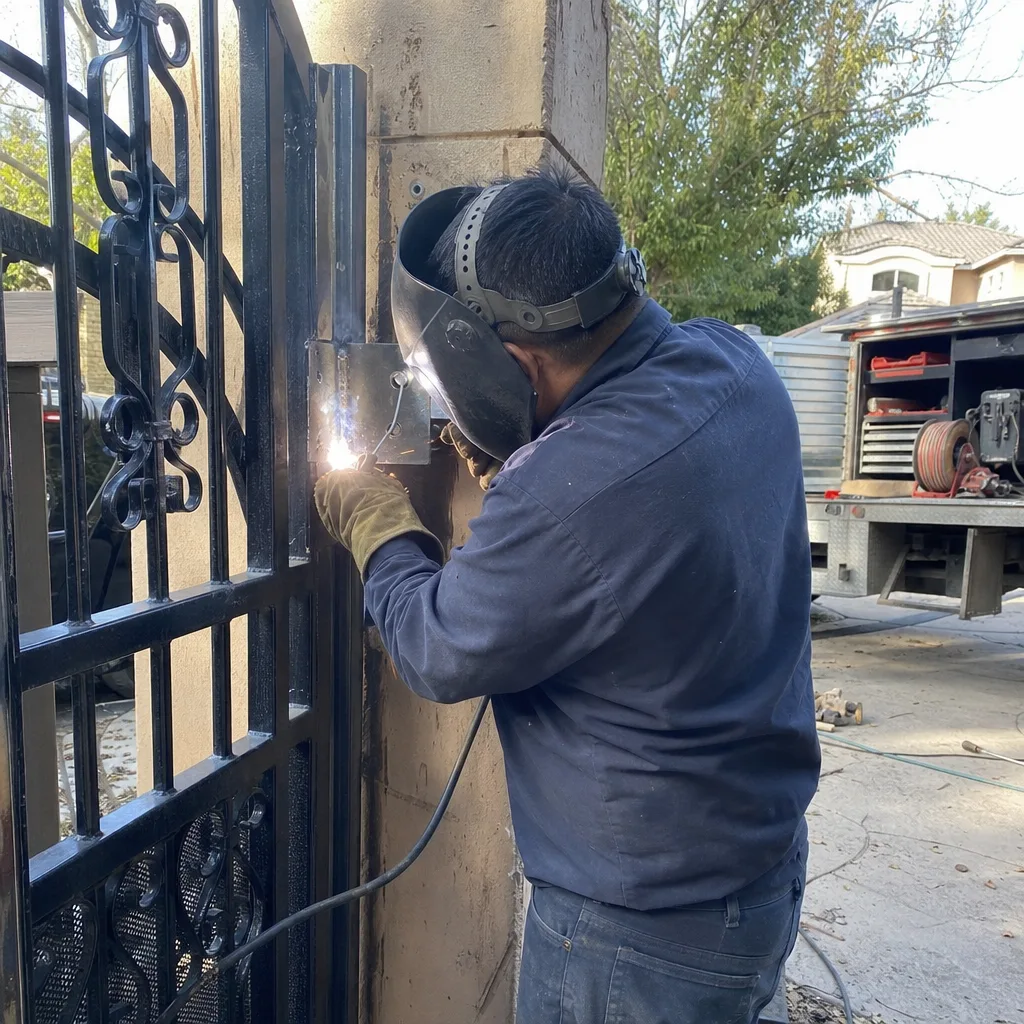
If the plumb line confirms a lean, call for a professional assessment. A post that is set in caliche and heaving needs a reset, not a shim. Shim plates behind a hinge bracket buy a few weeks and camouflage the real problem. A proper reset means exposing the base, checking the depth of the footing (most Chatsworth gate posts need to be set at least 30 inches deep to get below the active soil layer), and re-setting the post in a way that isolates it from the caliche. For a guide to what a full replacement involves, our Gate Installation in Chatsworth page covers footing depth and post-setting standards.
Yes, this is the one that gets missed most. The monthly cadence for exterior work in Los Angeles County is pragmatic given the dust load. During the rainy season, check foam and rubber seals twice a month. After a storm, wipe any standing water off the gate and the motor housing. A gate is like a car with no roof; the less water it holds, the longer the hardware lives.
6. Wire Connections and Conduit: What Chatsworth Heat Does to Insulation
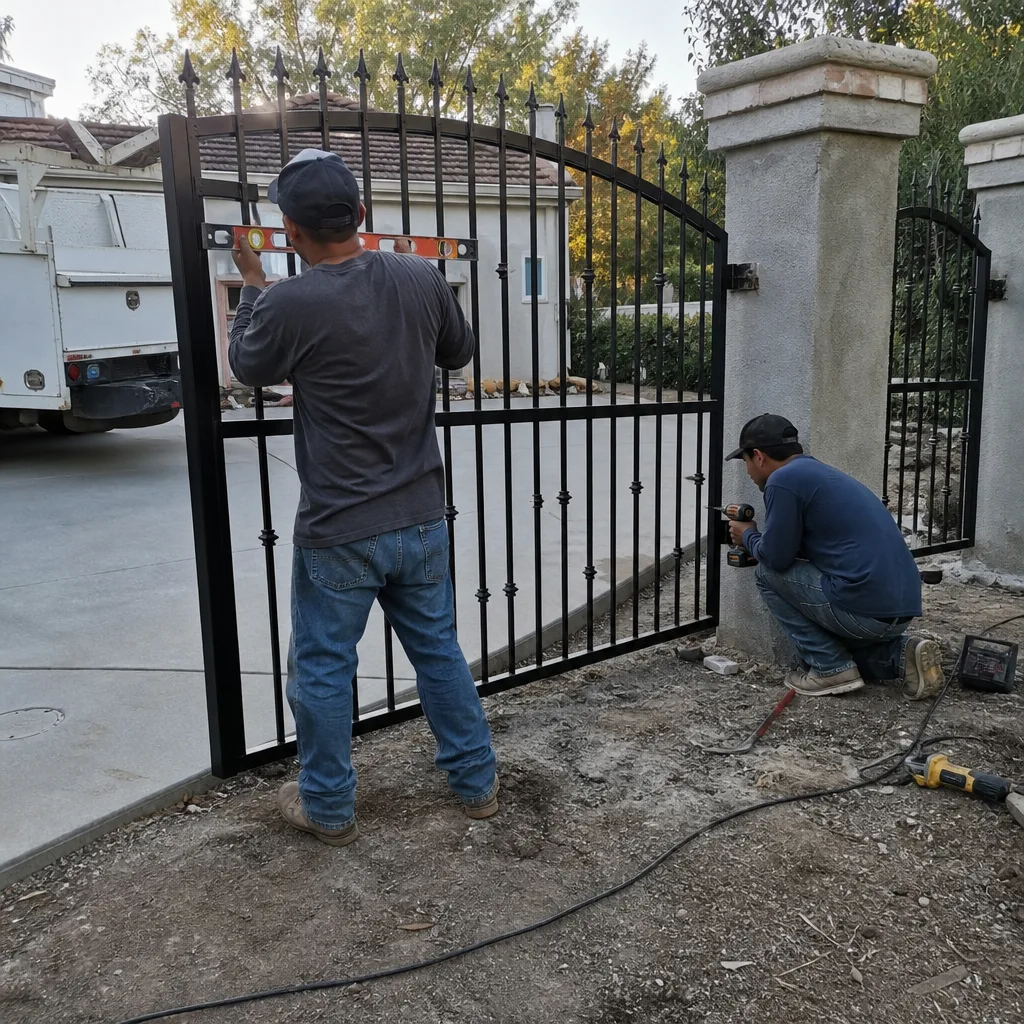
The electrical system on a residential gate is simple: power from the panel to the motor, low-voltage wiring from the motor to the photo-eyes, the keypad, the vehicle loop detector, and the pushbuttons. All of it lives outside in Chatsworth’s heat. Wire insulation in this climate degrades differently than it does in coastal communities. Coastal insulation fails from moisture and salt. Chatsworth insulation fails from heat and UV. It dries out, becomes brittle, and cracks. When it cracks, you get intermittent shorts, erratic board behavior, and false limit errors.
The visual check, in order: First, look at any visible wire runs, especially where they exit conduit or enter a junction box. Brittle insulation looks like tiny cracks running perpendicular to the wire, a chalky white residue on the insulation surface, or a color that has faded from its original. Second, look at any wire that crosses a moving part, particularly the low-voltage wire that runs to a photo-eye mounted on a moving gate leaf. That wire flexes every time the gate moves. In the heat, the insulation becomes less flexible, and the flexing causes it to crack at the bend point. If you see exposed copper, do not touch it. Disconnect nothing. Mark the location, note it on your checklist, and call for service.
Third, look at the conduit. Chatsworth heat causes PVC conduit to sag between supports. Sagging conduit traps water at the low point, which then sits against the wire insulation. A sagging run of conduit with a visible water stain at the low point is an indication that the wire inside has been sitting in water. That’s a replacement item, not a patch item.
Symptom check: a gate that works flawlessly for a week and then refuses to open for two hours. A gate that starts and stops randomly. A keypad that sometimes works and sometimes doesn’t. Intermittent electrical problems are nearly always a wire or connection issue, not a board issue. The board is just responding to the signal it receives, or the signal it stops receiving.
We’ve seen Chatsworth homeowners spend money replacing a control board when the actual problem was a cracked photo-eye wire behind the gate post. The board was fine. The wire was the fault, and the board was getting the blame because boards are expensive and visible and wires are hidden and boring. When we document a wire repair, you get a photo of the old wire, the new wire, and the splice point. The splice gets a heat-shrink jacket over it, not electrical tape, because tape melts in a Chatsworth summer and leaves a sticky mess that attracts dust.
7. Backup Battery Voltage: The Number Below Which the Gate Fails
Every gate motor with a backup battery system has a battery. Every battery has a lifespan. Every lifespan ends. The uncomfortable truth is that a backup battery that tests fine during normal operation will often fail on the first day of a power outage, because the battery has been slowly losing capacity without showing any external symptom. The gate works normally on AC power. The battery is never called on. And then the power goes out, the gate needs to work on battery, and the battery doesn’t have enough left to swing or slide the gate even once.
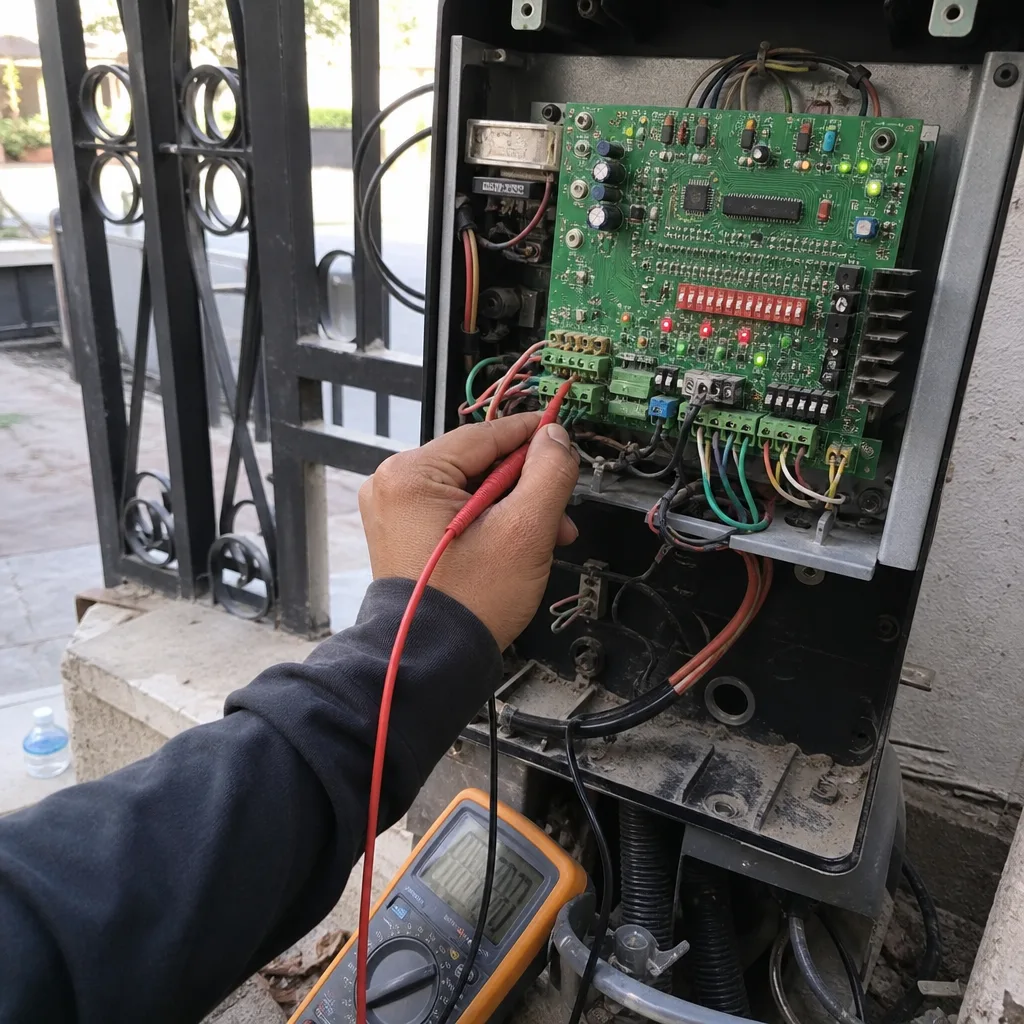
The number to know: 12.4 volts. A fully charged 12-volt lead-acid or AGM battery reads between 12.6 and 12.8 volts at rest. At 12.4 volts, the battery has approximately 75% of its original capacity. Below 12.2 volts, it has less than 50%. Below 12.0 volts, a gate motor may not have enough current to start. If your gate’s backup battery reads 12.2 volts or lower on a multimeter with the gate disconnected from AC power, that battery is at end of life. It will fail on the first power outage. Not next year. This year.
How to check it without touching the board: Most residential gate motors have the battery accessible through a separate compartment or behind a small access panel that does not require exposing the line-voltage terminals. If you don’t know which compartment that is on your specific motor, don’t open the main panel. The main panel has line voltage inside, and line voltage is not a DIY zone. Instead, call for service and ask the technician to test the battery voltage in front of you. A good technician will do it and show you the reading.
Symptom check: after a brief power blip, the gate works. After an extended outage, the gate doesn’t. The motor tries to start, you hear a click or a single labored attempt, and then nothing. Or the gate opens halfway and dies. Either is a battery capacity issue. In Chatsworth, where summer heat accelerates the chemical degradation of batteries, a backup battery lasts 2 to 3 years on average. If you’ve had the same battery for 4 years, it’s already dead in every way that matters.
Replacement batteries are not universally expensive, but they are motor-specific. A LiftMaster takes one battery. A BFT takes a different one. A Linear takes a different one. Don’t buy a generic battery from a big-box store and wire it in. The voltage may match, but the physical dimensions, terminal type, and charge profile will not. We stock the correct replacement batteries for all nine gate-automation brands we service, including LiftMaster, FAAC, BFT, and Linear. The battery, the replacement labor, and the old-battery disposal are all included in one written price before we start.
8. The Documentation Habit: Photograph, Date, File
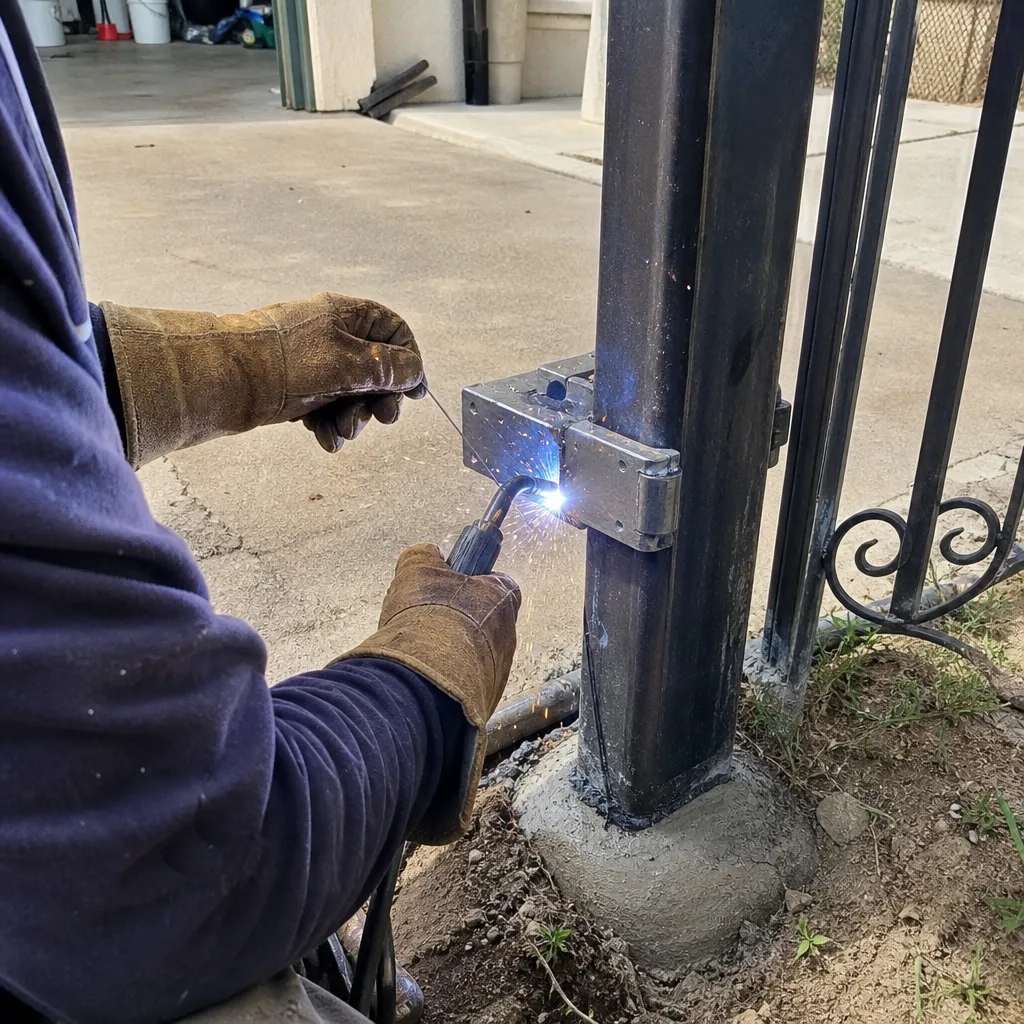
Here’s the point most more guides & resources on gate maintenance miss entirely. A checklist is only useful if the next person to look at your gate knows what the last person found. If you inspect your gate every three months and write down nothing, you’ve built a history that exists only in your memory. Memory is not a service record. The next technician who works on your gate will start from zero, re-discover what you already know, and charge you for the discovery. That’s not incompetence on their part; it’s the absence of a baseline.
The documentation habit we recommend for every Chatsworth homeowner: after each self-inspection, take four photographs. First, the full gate from the motor side. Second, a close-up of the roller track or the hinge area, whichever showed a symptom. Third, the limit-switch area or the chain tension point. Fourth, anything you adjusted or anything that looked wrong. Date the photo in your phone’s filename or in a note. Save them to a folder named after the gate. If you’re doing the plumb-line test, photograph the string against the post from the side. The photo becomes the baseline.
When a technician eventually comes out, show them the folder. This is the difference between a $250 diagnosis and a $150 repair, because the technician can see what the track looked like in March vs. what it looks like in September. They can see the chain was at half-inch deflection in June and three-quarter inch in December. That trend data is worth real money. It also means you’re less likely to be told you need a part that you don’t, because the photographic record is sitting in your hand.
This is the same habit Adrian Vance developed on commercial access-control sites starting in 2014. Every job got a written scope, a written price, and a photo record of what was found and what was left behind. When we work on a Chatsworth residential gate, you get the same documentation. Every visit ends with a photo log of every adjustment and a written record of the part numbers installed. If a future technician ever needs to know what was done, the record is there. You never pay twice to rediscover the same problem.
This page is part of our larger resource on Vance Gate Repair Chatsworth home services, where you can see the full scope of what we cover.
Common Mistakes to Avoid
- Spraying WD-40 on roller tracks. It’s a solvent with light oil carried in it. The solvent flashes off, the oil hangs around, and it bonds with Chatsworth dust to create the grinding paste described above. Use a dry PTFE or graphite spray on tracks, nothing wet.
- Tightening a chain without disconnecting power. Even if the motor isn’t running, the control board may still have live voltage. The tensioner isn’t the danger; the panel you have to reach past is. Disconnect the power or call someone who knows which wire is safe to be near.
- Treating a dragging gate as a latch problem. If the gate scrapes at the latch end, the problem is the hinge side or the post, not the latch. Shiming the latch plate just moves the wear to a new location.
- Ignoring a battery that “tests fine.” A battery can hold voltage at rest and still not have enough capacity to run the gate under load. The only reliable test is a load test, which a technician does with a battery tester, not a voltmeter.
- Opening the control board to look. A control board enclosure has line voltage inside. Looking inside out of curiosity is how homeowners find 120 volts with their hand. If you can’t get the answer from an external visual check, call for service.
- Re-using old wire after a repair. Wire that has already cracked once in Chatsworth heat will crack again somewhere else. The proper fix is a new run of the correct gauge wire in new conduit, not another splice.
- Doing nothing because the gate still works. Every gate that fails today was working yesterday. The point of a checklist is to find the failure before it strands you outside your own property.
When to Call a Professional
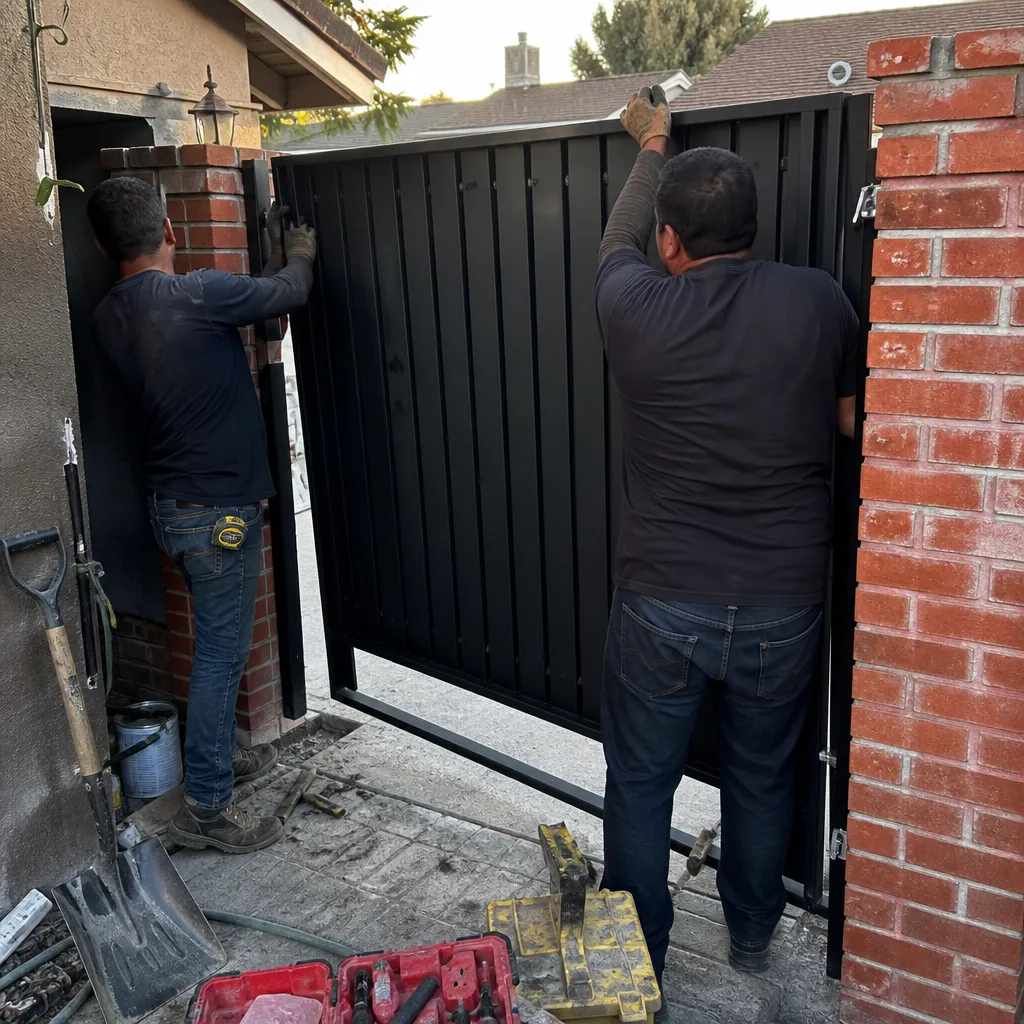
Some failures announce themselves quietly and some don’t announce themselves at all. If your gate overtravels, stops short, hums after it stops, or moves with a jerky motion, stop cycling it and call someone who can diagnose it with a meter instead of a guess. If you see exposed copper wire, smell burning, or hear grinding from the gearbox, call right away. These are not checklist items anymore; they’re failure modes with line voltage or mechanical force attached. Vance Gate Repair Chatsworth offers free estimates in Chatsworth, and every price is written down and handed over before any work starts, under Clause 1 of the Haven Standard. Call (661) 495-2023 and we’ll come look. You’ll get a written quote and a documented record of everything we find.
Frequently Asked Questions
Check the eight components on this list every three months. During the dry season, pay extra attention to the roller tracks and the chain or belt tension. During the wet season, pay extra attention to the wire connections and the post alignment. A quarterly check takes fifteen minutes and catches most failures before they strand you.
What is the correct lubricant for a Chatsworth gate?
Use a dry-film PTFE or graphite spray on roller tracks and chains. Use a penetrating oil like Tri-Flow on hinge pins. Never use WD-40, white lithium grease, or silicone spray on any part of a gate that is exposed to Chatsworth dust. Wet lubricants attract dust and create a grinding compound that accelerates wear.
Test the battery voltage with a multimeter. A healthy 12-volt battery reads 12.6 to 12.8 volts at rest. Below 12.4 volts, capacity is degrading. Below 12.2 volts, the gate will not run on battery during an outage. If you’re not comfortable testing it yourself, a technician can load-test the battery in front of you and show you the reading.
You can visually inspect the limit-switch flag without opening the control board. If the flag is visibly bent or loose and you’re comfortable straightening it, you can. But if the flag looks correct and the gate still stops in the wrong place, the issue is inside the motor or on the board, and that requires a professional with a meter.
Intermittent faults almost always point to a wire or connection problem, not a board problem. Heat causes wire insulation to crack, and a cracked wire makes contact sometimes and not other times. The fix is a new wire run, not a new board.
A basic service visit in Chatsworth, including a written inspection, lubrication, tension check, and photo documentation, runs between $95 and $175. If the visit uncovers a repair item, you’ll get a separate written price before any additional work is done. Call (661) 495-2023 for an exact quote for your gate. Estimates are free.
Use a dry-film PTFE or graphite spray on roller tracks and chains. Use a penetrating oil like Tri-Flow on hinge pins. Never use WD-40, white lithium grease, or silicone spray on any part of a gate that is exposed to Chatsworth dust. Wet lubricants attract dust and create a grinding compound that accelerates wear.
Test the battery voltage with a multimeter. A healthy 12-volt battery reads 12.6 to 12.8 volts at rest. Below 12.4 volts, capacity is degrading. Below 12.2 volts, the gate will not run on battery during an outage. If you’re not comfortable testing it yourself, a technician can load-test the battery in front of you and show you the reading.
You can visually inspect the limit-switch flag without opening the control board. If the flag is visibly bent or loose and you’re comfortable straightening it, you can. But if the flag looks correct and the gate still stops in the wrong place, the issue is inside the motor or on the board, and that requires a professional with a meter.
Intermittent faults almost always point to a wire or connection problem, not a board problem. Heat causes wire insulation to crack, and a cracked wire makes contact sometimes and not other times. The fix is a new wire run, not a new board.
A basic service visit in Chatsworth, including a written inspection, lubrication, tension check, and photo documentation, runs between $95 and $175. If the visit uncovers a repair item, you’ll get a separate written price before any additional work is done. Call (661) 495-2023 for an exact quote for your gate. Estimates are free.
The Bottom Line
A gate maintenance checklist only works if it corresponds to the gate you actually have, on the soil you actually live on, in the climate that actually bakes your hardware. Chatsworth gates fail in predictable ways: roller tracks gum up with dust, hinge pins wear silently, limit flags drift, chains stretch, posts heave on caliche, wire insulation cracks in the heat, and backup batteries die before you need them. Check those eight things every three months. Use the right lubricant in the right place. Photograph what you find. And when something’s wrong, get a written price before anyone picks up a tool. That’s the whole system.
Written by Adrian Vance, Owner at Vance Gate Repair Chatsworth, serving Chatsworth since 2014.